 tonatagency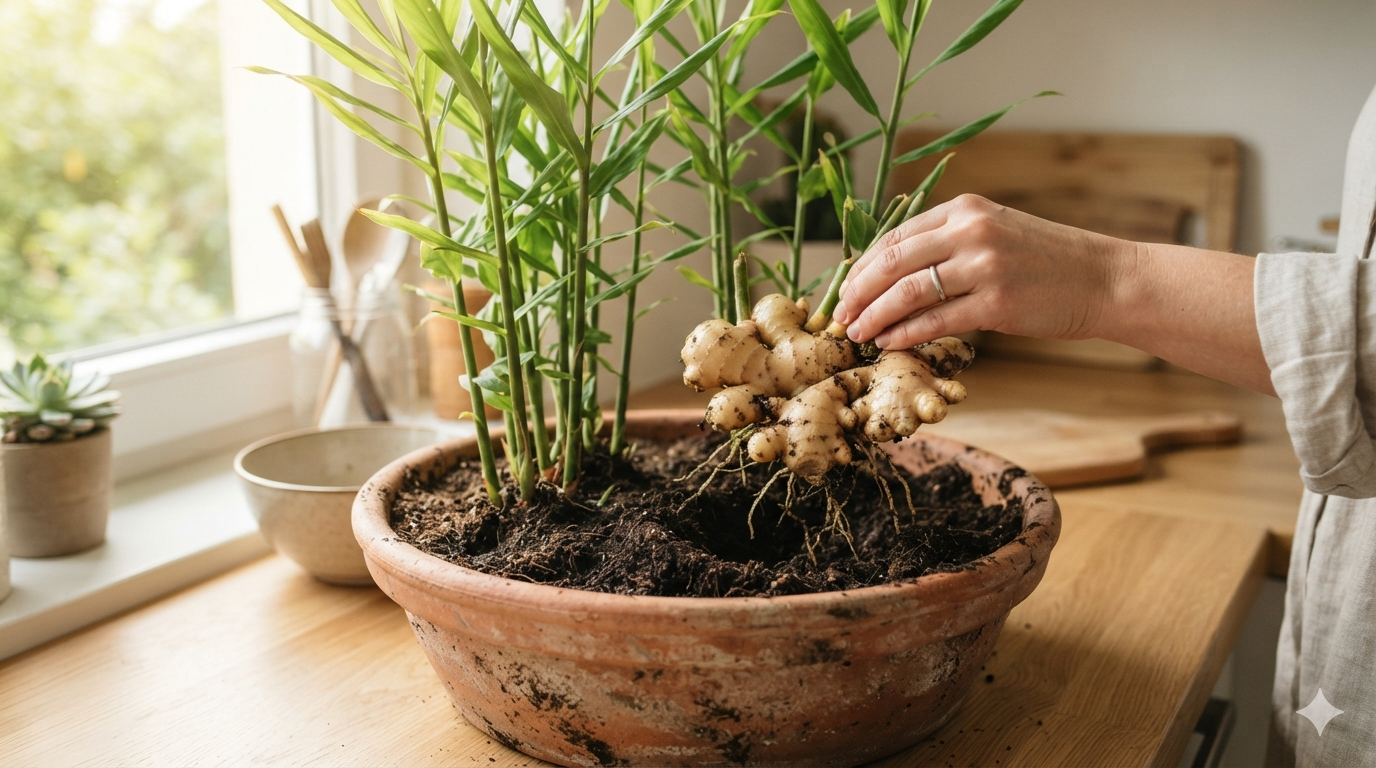
If you’ve ever bought ginger at the grocery store, used a small thumb-sized piece, and then watched the rest shrivel up in the back of your fridge, you’re not alone. I used to throw away more ginger than I actually cooked with. That was until I discovered how ridiculously easy it is to grow indoors.
Here’s the secret: ginger isn’t like a tomato plant that fruits once and dies off. It’s a tropical root system (technically a rhizome) that grows sideways beneath the dirt and constantly multiplies. As long as you give it a little space and harvest it properly, ginger will keep regrowing itself essentially forever.
You don’t need a greenhouse, a giant backyard, or a green thumb. If you have a bright spot on a windowsill, you can set up a self-sustaining indoor ginger supply. Here are two foolproof methods to get endless fresh ginger year-round.
Why Ginger Is the Ultimate Indoor Houseplant
Most edible plants demand blast-furnace sunlight and constant attention. Ginger is completely different. Because it naturally grows on the shaded floor of warm tropical forests, it actually prefers filtered indoor light over harsh direct sun.
Indoor rooms naturally offer the two things ginger loves most: warmth and stable temperatures. Plus, because ginger rhizomes spread horizontally just below the soil line, you can snip off what you need for tea, stir-fries, or natural remedies while leaving the rest of the plant alive and growing.
Method 1: The “Bottomless Harvest” (The Snip-and-Go Technique)
This is the easiest way to start. It allows you to dig up tiny portions of ginger whenever dinner calls for it, without ever killing the plant.
Step 1: Get the Right Container
Forget deep buckets. Ginger needs elbow room, not depth. Pick a wide, shallow pot (at least 12 to 14 inches wide and 6 to 8 inches deep) with plenty of drainage holes. Saturated, soggy soil will rot your roots fast.
Step 2: Prep Your Store-Bought Ginger
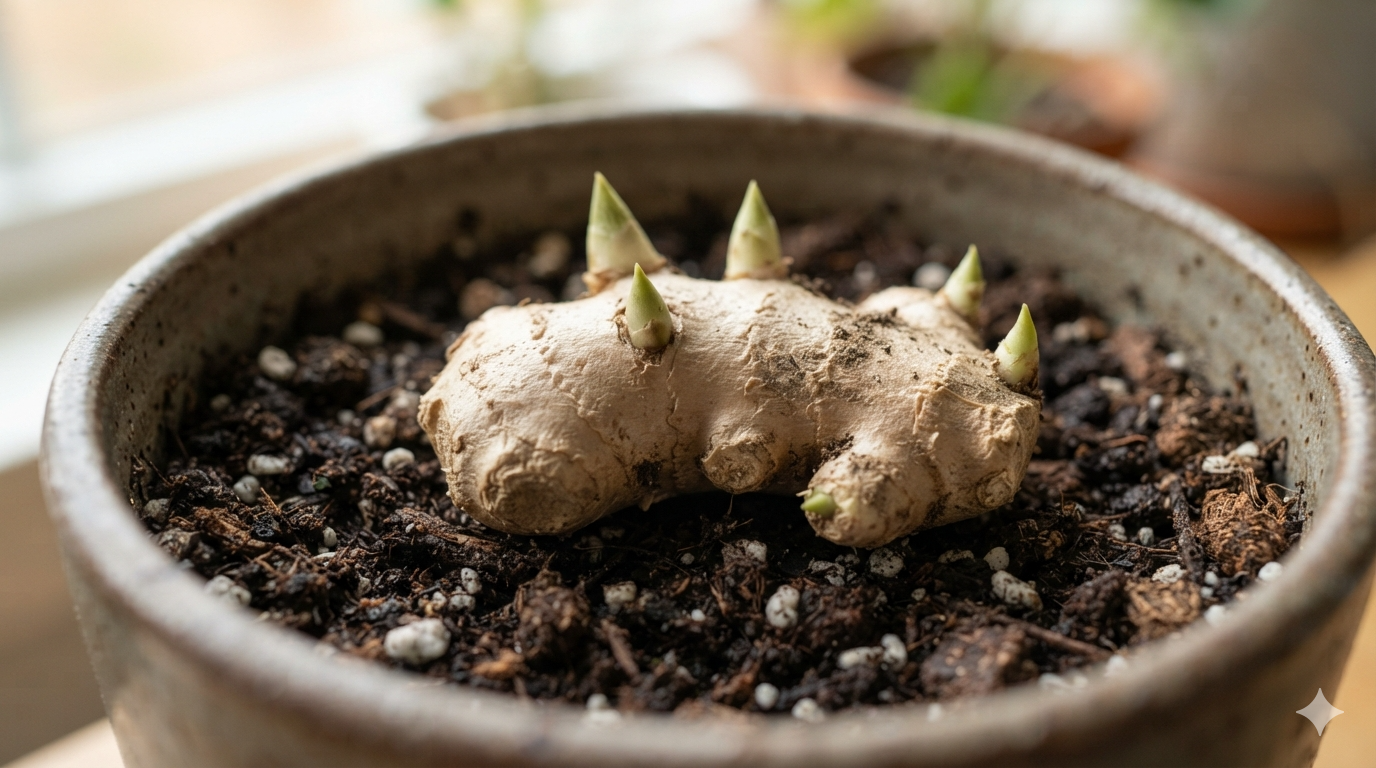
Buy organic ginger from the store—non-organic roots are often sprayed with inhibitors to stop them from sprouting in display bins. Look for plump pieces with smooth skin and visible “eyes” (the small, pointed bumps where new shoots grow). If it looks dry, soak the piece in warm water overnight to kickstart its growth cycle.
Step 3: Plant and Water Lightly
Fill your pot with a lightweight, rich potting mix blended with perlite or coconut coir. Lay your ginger pieces flat on top of the dirt, bumps facing up, and cover them lightly with just 1 inch of soil. Water gently to settle the dirt.
Step 4: Keep It Warm and Wait
Place your pot in a warm spot (around 68–80°F) with bright, indirect daylight. Keep the soil barely moist. In 2 to 4 weeks, bright green shoots will pierce through the soil like little bamboo stalks.
Step 5: How to Harvest Without Killing the Plant
After about 3 to 4 months, you can start harvesting:
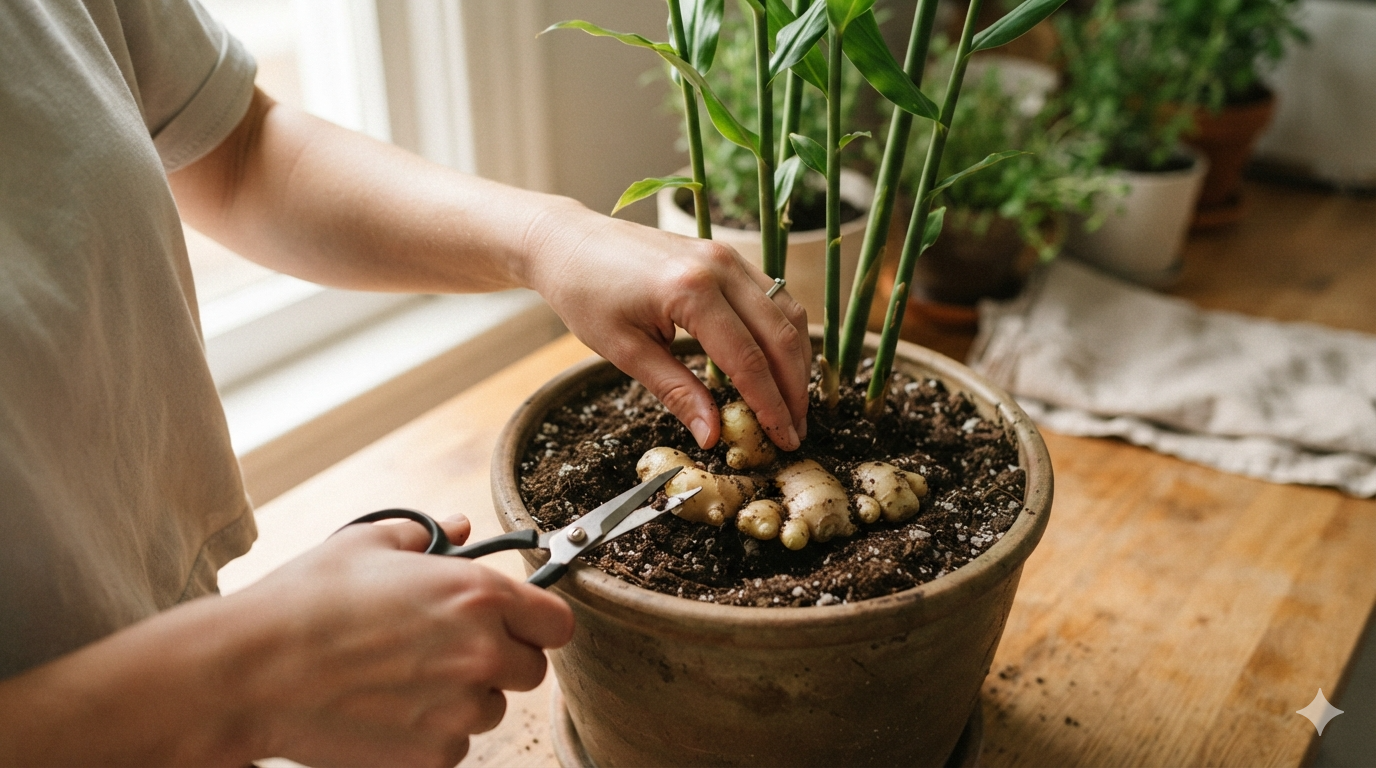
- Gently push aside the top layer of dirt near the edge of the pot.
- Find a healthy piece of rhizome and snap or cut off a thumb-sized chunk.
- Cover the remaining root back up with fresh soil and give it a light watering.
The remaining plant will continue pushing out new shoots and expanding into the open space!
Method 2: The “Ginger Wheel” (The Continuous Rotation Method)
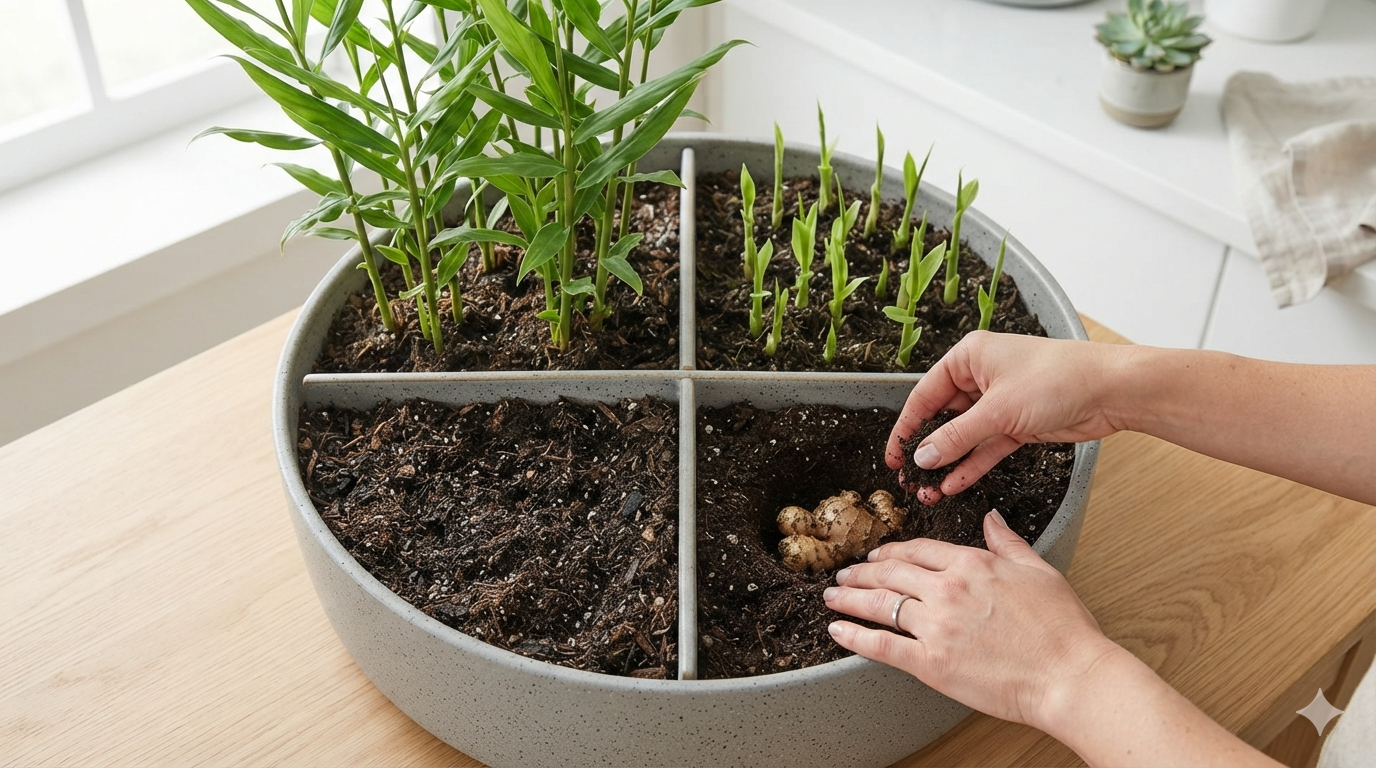
If you use ginger every single day, Method 1 might not keep up with your cooking habits. That’s where the Ginger Wheel comes in. This system creates a continuous assembly line of ginger at different maturity stages.
How to Set Up the Wheel:
- Get a Wide Bowl Planter: Grab a large, round planter that is 16 to 20 inches wide. Mentalize the pot divided into four equal slices, like a clock or pizza.
- Plant Section 1 (Month 1): Plant your first ginger piece in the “12 o’clock” section. Let it sprout and settle in.
- Plant Section 2 (Month 2): A month later, plant a new piece in the “3 o’clock” section.
- Plant Section 3 & 4 (Months 3 & 4): Repeat the process for “6 o’clock” and “9 o’clock” over the next two months.
By month four, you have a rotating cycle: Section 1 is mature and ready for heavy harvesting, Section 2 is filling out, Section 3 is shooting up sprouts, and Section 4 is just starting. Once you dig up Section 1, re-plant a fresh piece right in that empty spot. You’ll never run out again!
Long-Term Care: Keep Your Ginger Thriving Year-Round
To keep your perpetual indoor ginger garden going for years, follow these four simple rules:
- Filtered Light Only: Keep your pots near an east- or north-facing window. Direct midday sun will scorch the leafy green stalks.
- Keep Soil Moist, Not Soggy: Soil should feel like a wrung-out sponge. If the soil stays soaking wet, the rhizomes will rot.
- Boost the Humidity: Indoor heat can dry out ginger leaves. Give the tall green stems a quick mist twice a week with a spray bottle.
- Feed Every Month: Give your plants a organic liquid kelp or balanced fertilizer every 3–4 weeks to feed new root production.
Growing ginger indoors is hands-down one of the most practical urban gardening hacks you can try. Grab a piece of ginger root next time you’re at the market, stick it in a pot, and enjoy fresh, spicy ginger whenever you want!